Bakelite Cherry Jewelry Restoration
Anyone who has seen our kitchen or my wardrobe knows I'm a huge fan of cherries. I'm not sure how this started, but I've been collecting cherry-themed items for quite some time. Almost any cherry fabric, piece of jewelry or tablecloth, found at an antique or thrift shop, is snapped up and taken home for my collection.
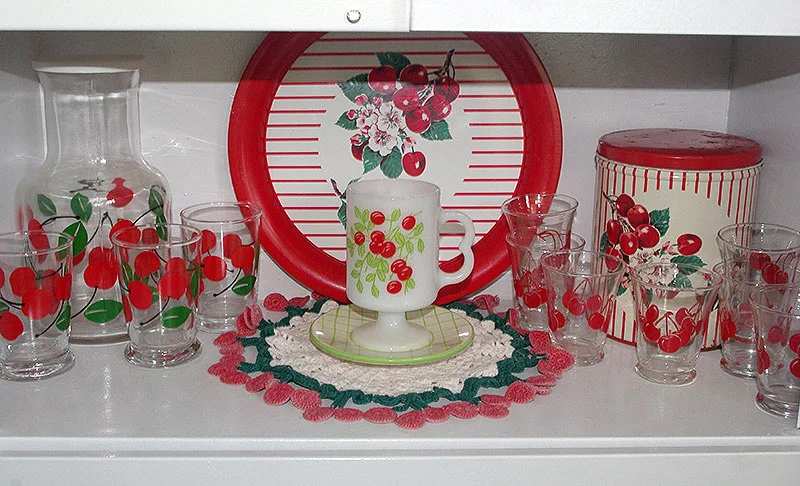
Part of my cherry collection
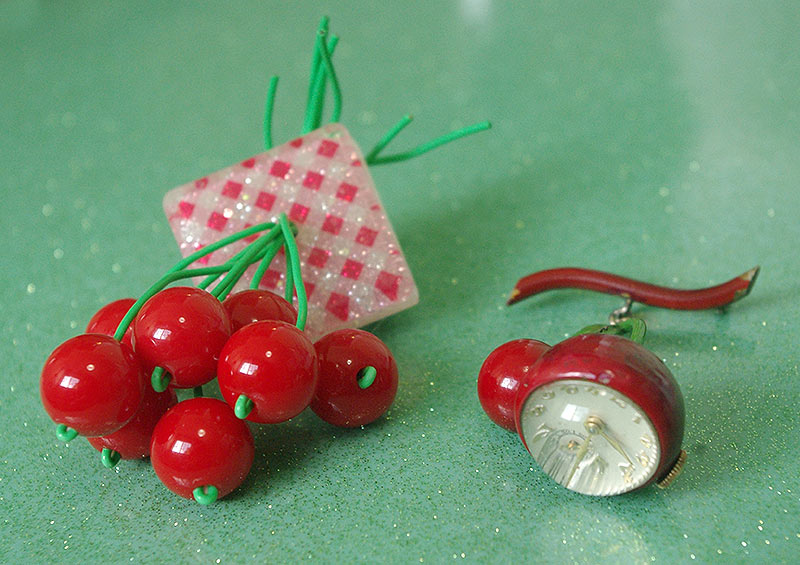
Some of my retro and vintage cherry jewelry
A few years ago I saw a photos of a vintage necklace with carved, bright red bakelite cherries and green leaves hanging from a red plastic chain and a brooch complete with bakelite log slice and cherries. I fell in love with both instantly. The problem was that whenever I found one of these for sale, they were priced ridiculously high. Bakelite in general is pricey, but I refuse to pay too much and prefer to wait it out and hope for a good deal. Over the years I've managed to get some reasonably priced bakelite jewelry, but those cherry pieces were just always too expensive.

An example of one of the cherry log brooches for sale online.

An example of the cherry necklace.

Some bangles from my bakelite collection
We are lucky enough to live only 10 minutes away from the Hollis Flea Market in Hollis, NH. It takes place on Sundays throughout the summer and fall. The flea market is a treasure trove of fabulous and often wacky vintage finds, usually at pretty decent prices.
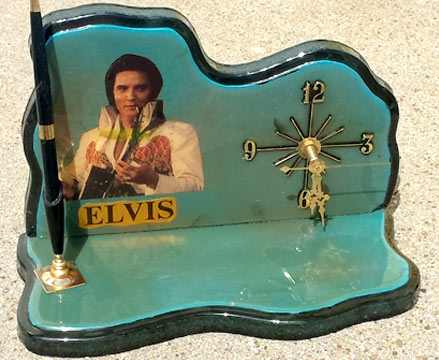
My new Elvis clock purchased for only $2.

Just some of the many things you can find at the Hollis Flea Market

Who doesn't need an inflatable floral foot stool? Sadly this did not go home with me.
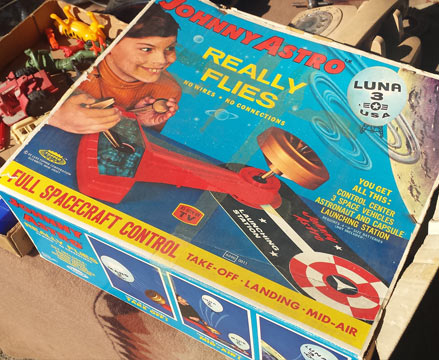
The box from some vintage space toy, which I would have been tempted to buy if the box hadn't been empty.
One of the sellers is a very nice lady who sells vintage jewelry, including bakelite, whom I often visit when I'm there. Her bakelite is priced pretty high, so I don't often buy any of that from her, but last fall she had a small jewelry box with the sad remains of a bakelite log and cherry brooch. It was in pieces with only a few cherries still hanging on for dear life. Someone had tried to repair it at one point but only managed to cover the cherries with super glue. It was in terrible shape but was only $15 which was much cheaper than the $85+ they usually go for. I figured I could try and repair it and if that didn't work, I could sell it for parts.

The brooch before repair

The brooch showing some past repair attempts

The back of the brooch
The brooch sat in the box for over a year waiting for me to get around to repairing it. In the meantime, I continued to look for the ever-elusive cherry necklace. One day, while Chris and I were visiting a local thrift shop in Wilton, NH, I saw a jewelry display with a cherry necklace right in the middle. I immediately rushed to admire it but assumed that the price would be outrageously high, as they usually are. Just for kicks I turned over the price tag and saw $35 written on it. I couldn't believe how low it was. The necklace wasn't perfect; the cherry stems were in pretty bad shape, some of the green wax from the stems had transferred to the cherries and it appeared to be missing a couple of cherries and at least one leaf. But at that price, I thought it was totally worth it.

The cherry necklace before repair

A close-up of the necklace showing the original state of the stems

The original cherries with some of the wax transfer
I finally had my two pieces of bakelite cherry jewelry, but they were in desperate need of repair. Both pieces were missing parts so I had to find suitable replacements. The brooch was missing two of its cherries so I managed to find some bakelite beads on Etsy that were exactly the same size and color. The beads did have a hole drilled all the way through, rather than just on the top, but I figured if I positioned those towards the back of the brooch, the holes wouldn't be too noticeable. Finding replacement parts for the necklace proved to be a bit harder. The cherries had a carved crease in the side and a divot in the top, so using plain, round beads wouldn't work. I considered recreating the parts with resin, but feared that I wouldn't be able to match them closely enough. I finally found an inexpensive brooch with two cherries that matched almost perfectly. I would still be missing one leaf, but decided that it wouldn't be that noticeable and I could always add one later.

The spare cherry brooch I bought for parts, along with one of the cherries from the original necklace. The leaves are celluloid and I'll save those for a future project.
I had done some research online for how to fix this style of necklace and brooch, but found very little information, so I had to figure out my own way of doing things. My first step for both the necklace and brooch was to remove the old stems from the cherries. I did this by drilling out the old stem, using a very small drill bit and a Dremel, set to the lowest speed. I picked out any leftover stem bits with a long needle and a pair of pointed tweezers. The log portion of the brooch also had a hole that needed to be cleaned of glue and stem bits. I also had to clean and scrape off bits of glue and wax from the cherries and leaves.

Some of the tools I used to remove the stems

The log portion of the brooch
The original cherry stems were some kind of wax or plastic covered string which I was unable to find. I did find one article about replacing the stems with green electrical wire but I wasn't crazy about this idea. For one, the color of the wire tended to be brighter than I would like and the stiffness of the wire didn't allow the cherries to hang as nicely as the original string. After many trips to the craft store I finally decided on some green braided cord. The cord wasn't quite the right shade of green, so I mixed some Jacquard Textile paint to the correct color and coated the cord. The paint was then set with an iron which would make it permanent.

New cord ready to become cherry stems

Mixing the green paint for the stems

Painting the stems
I cut the cord to the lengths I needed and the stems for the necklace were loosely knotted once in the middle. I then glued the new stems into the holes of the cherries and let dry overnight. I used G&S Hypo Cement for the glue, which is meant for jewelry and seemed to hold quite well.

The repaired cherries on the left and the original on the right

The cherries for the brooch, with the new stems glued in place
Once the stems were added it was time to put the rest together. For the brooch, I gathered the cherries in a bunch and wrapped them tightly with green thread. I covered the wrapped portion with glue and then slipped them through the hole in the log, added more glue and let it dry. This was my second attempt at this because the first time I did it without wrapping them with string. The result is that even after the glue dried some of the stems started to slip out of place, most likely because they didn't have enough glue on them. Bunching them together should make it harder for this to happen.
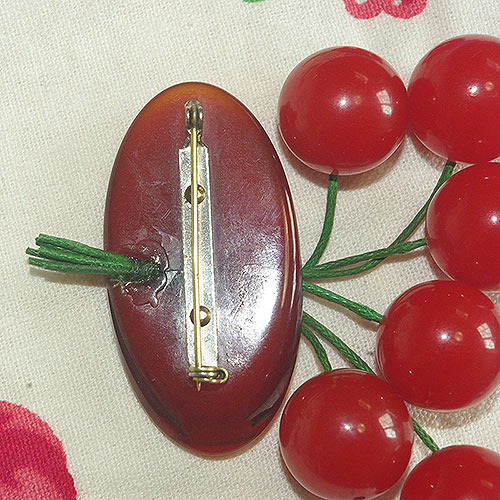
The back of the newly repaired brooch

The finished, repaired brooch
For the necklace, I simply had to attach the stems to the small metal chain links that were already in place.

Cherries for the necklace with their new stems

A close-up of the finished, repaired necklace
I couldn't be happier with the results. Not only did I finally get the bakelite cherry jewelry I wanted, I was able to get it for a fraction of the price and a only a small amount of work. I'm sure there are different and more correct ways to make these repairs, but I hope that this helps other people fix their own bakelite jewelry or gives them some ideas on how to make their own.

The final brooch and necklace

Modeling my new jewelry. The earrings are 1980s vintage and the cherry dress is one recently made by me.