Arcade Scoreboard
My husband Chris never wants or needs anything for his birthday, so I often try and come up with a creative gift that he never knew he needed or wanted. For this year's gift, I decided to make him a scoreboard to go with our retro gaming cabinet.
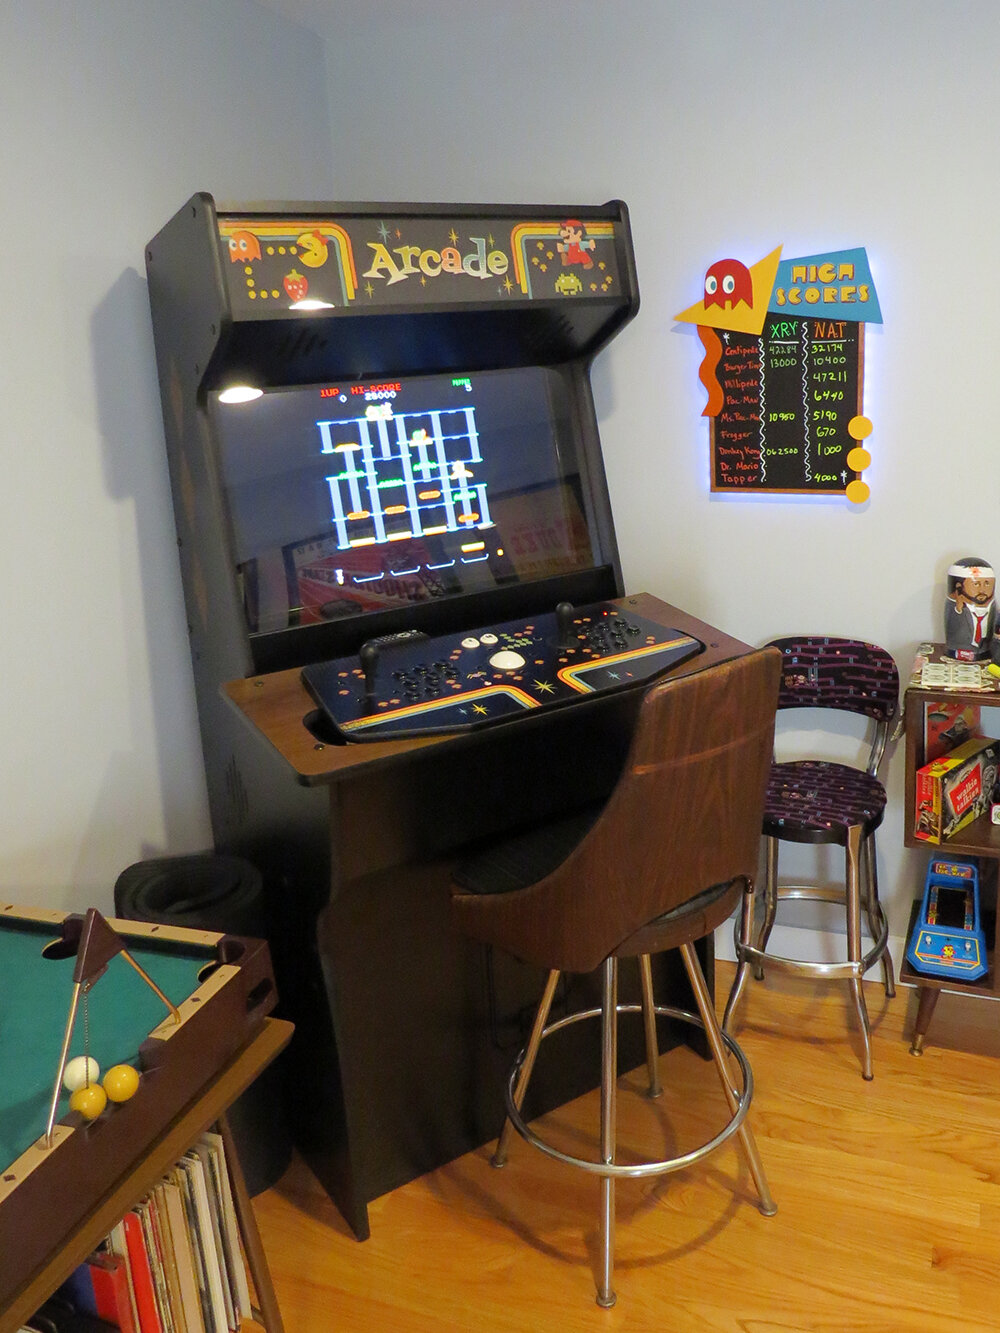
The 80s gaming corner of our living room.
For the design I wanted it to have an 80s look but still have it look like it belonged in our 1960s living room. I first mocked up a design in Adobe Illustrator to figure out what should go there. I designed it with classic 80s shapes like squiggles and triangles. I also included “Blinky” one of the Pac-man ghosts to help make it immediately recognizable as having something to do with 80s gaming.

My mockup of the scoreboard design.
I started out by cutting out the decorative shapes from 1/4 inch thick plywood with a jigsaw. After sanding them down I painted them the colors I wanted. As I did when designing the graphics for the video game cabinet, I chose slightly more muted colors that are more mid-century than the bright and saturated colors of the 80s.

Some of the decorative wooden shapes, painted and glued in place.
For the board itself, I used a sheet of black whiteboard that I cut down to size. Initially my plan was to paint the words “High Scores” at the top of the board itself. But after a few tests I realized that the board was much too smooth to allow the paint to stick. Instead I cut an additional piece of wood for the top and painted the words on that, using a Pac-Man style font.

The scoreboard marquee
The Pac-Man logo and my inspiration for the design of the scoreboard.
Worried that the edge of the whiteboard would chip over time, I added strips of stained wood to the edge of the board to protect it. I glued the strips of down with wood glue and clamped them in place until it dried. The board itself is pretty thin and a bit flexible, so I needed something to make it more rigid and to have something to nail the decorative pieces to. After a few failed tests, I decided on a 1 inch thick board for the backing and then glued and nailed the whiteboard and decorative pieces to it.
The wooden frame of the board.
The backing board with all he pieces nailed and glued in place.
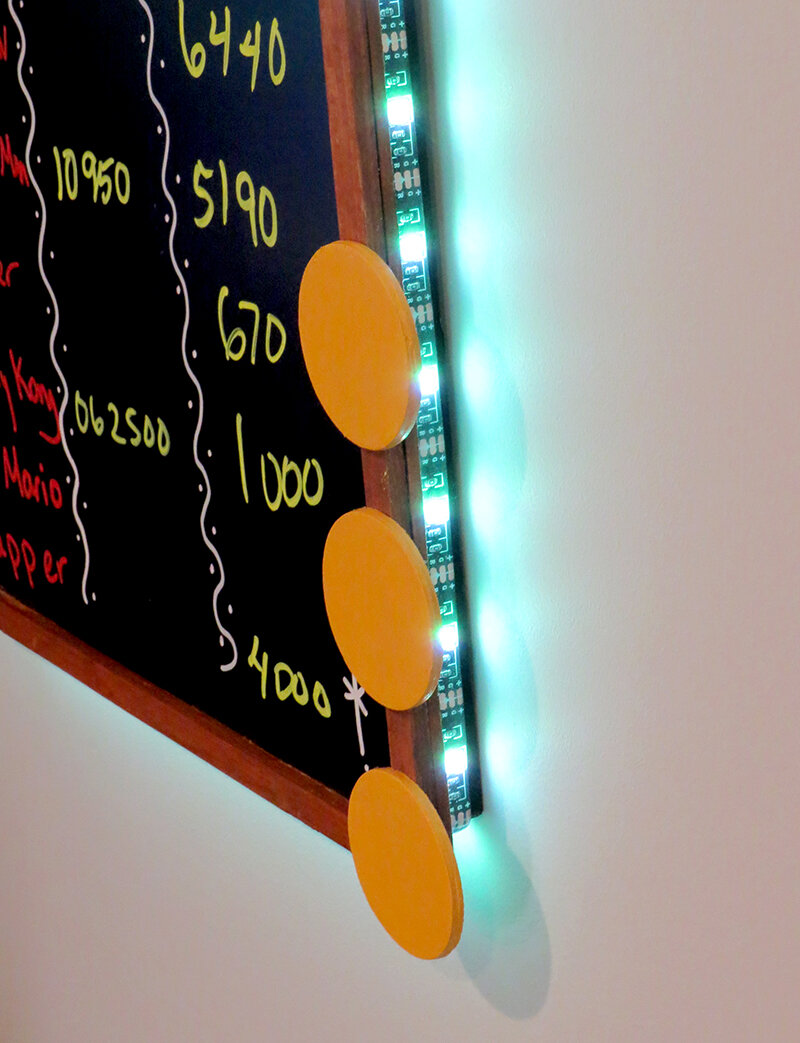
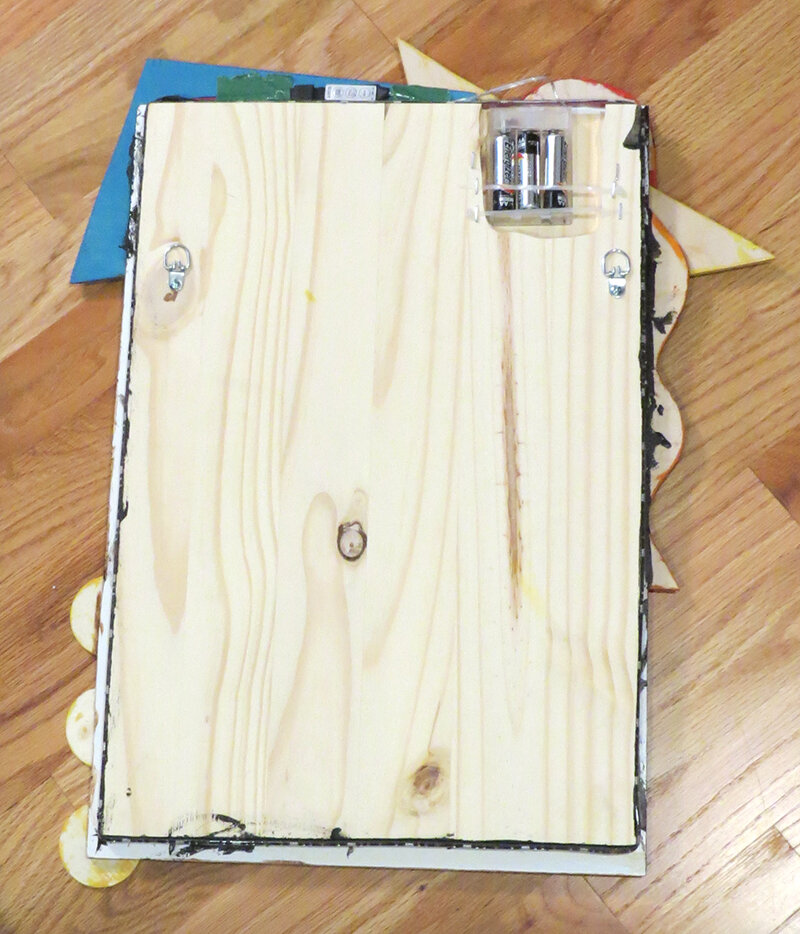
Finally, for some extra bling, I thought the scoreboard should have some lighting so I bought a roll of battery operated, colored LED tape light. To accommodate the battery pack, I routed out a spot in the back to hold it. To keep it in place, I stapled some small zip ties over the opening to serve as straps. The LED tape has an adhesive back so I stuck it around the edge of the backing board. Since the backing is smaller than the scoreboard itself, the tape isn’t visible from the front, but the light still shines nicely from the edge of the board.

The battery pack for the LED tape

The scoreboard hung and all lit up.
I’m pretty pleased with the way this came out. Now I just need to play some video games to improve on my terrible scores.
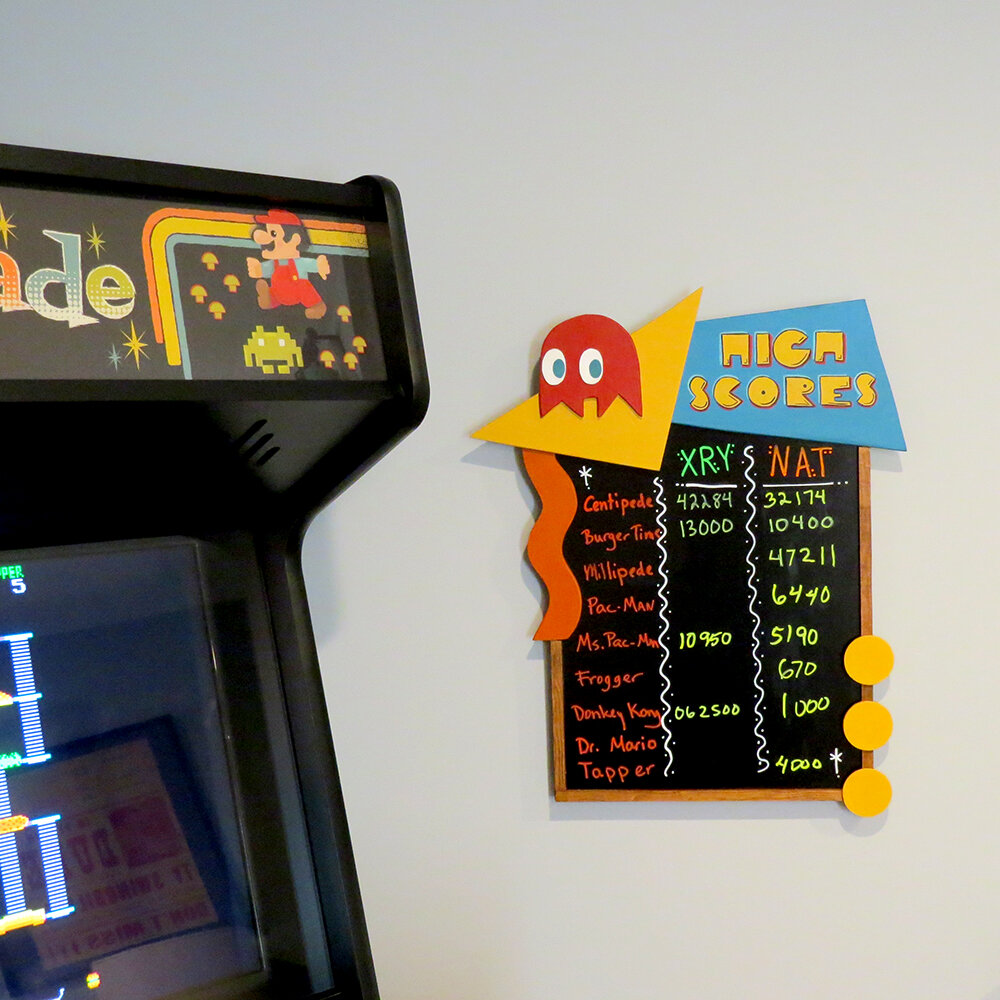
The final scoreboard, with our terrible video game scores.