Vintage Crafting: Braided Rag Rug
My Grandmother always made her own braided rugs. I remember watching her make them when I was little, and I can recall her basket of wool strips and braids, ready to be made into a new rug. Her rugs were beautiful; made from scraps of wool she collected from old and thrifted clothing. There were no particlar patterns, but rather they were made with bits of fabric in every color and reminded me of confetti.
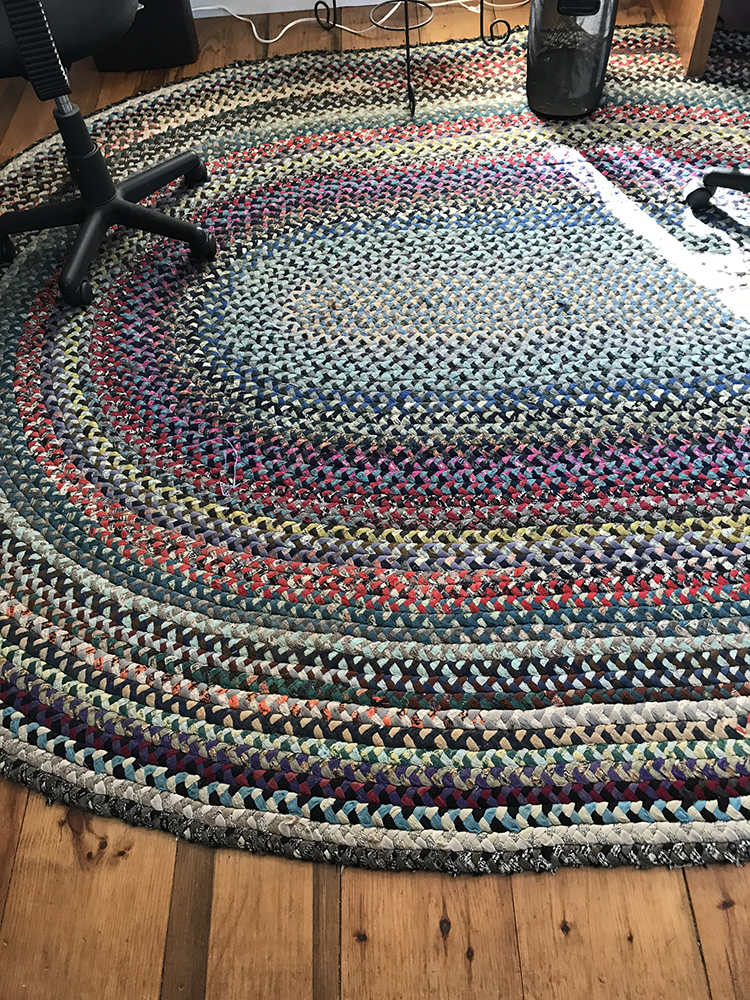
This is one of the rugs that my grandmother made which is now in my parent’s house.
The rug is well worn, but still beautiful.
I always wanted to try to make one so for a few years I collected scrap wool fabric for the project. A few weeks ago, I realized that I probably had enough fabric and was ready to start. We needed a new rug for the entryway of our breakfast area, so decided I would make my rug for that space. Before I jumped into the larger entryway rug, I thought I would make a much smaller one to see how it went. I used some strips of aqua and red wool for my first “practice” rug.
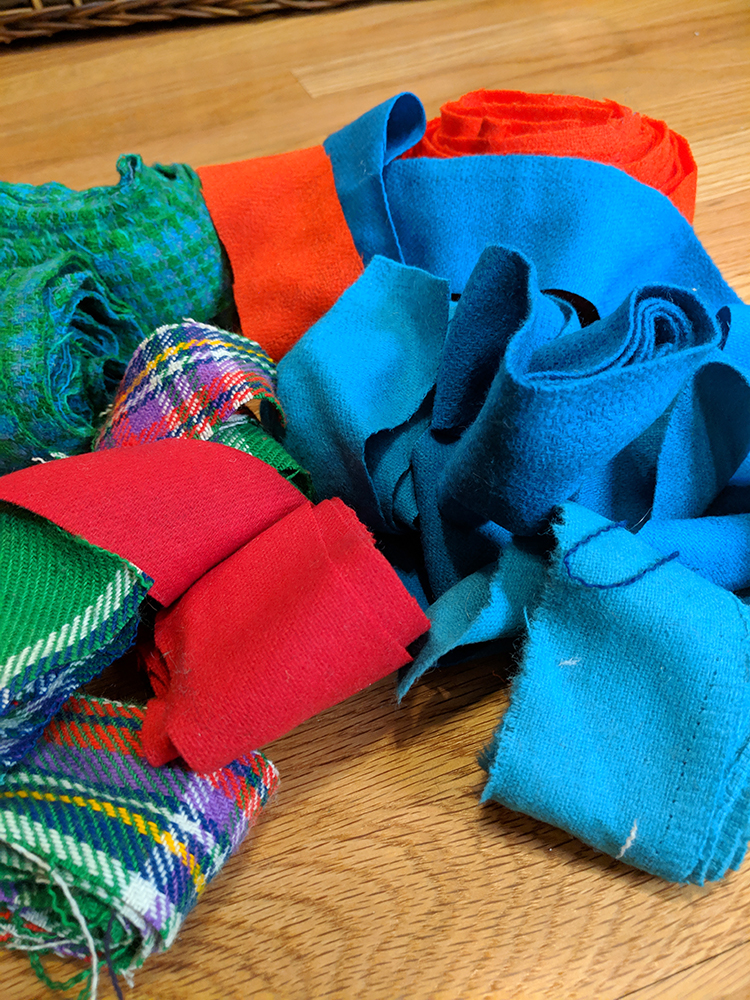
Some of the scrap wool I collected for the project.
I had a vintage 1940s rug braiding kit that I decided to try for this project. This Nu-Flex “Rug-A-Day Rug Braiding Kit” included instructions and metal fabric folders. The idea was that the strips of fabric would be fed into the folders which would automatically fold the fabric and make it easier to braid. I used the kit for about 1 foot worth of braid and quickly realized why my grandmother just folded hers by hand. Even with the metal folders I was still fighting to keep the strips folded and untangled. I found it much quicker and easier to fold and braid by hand.
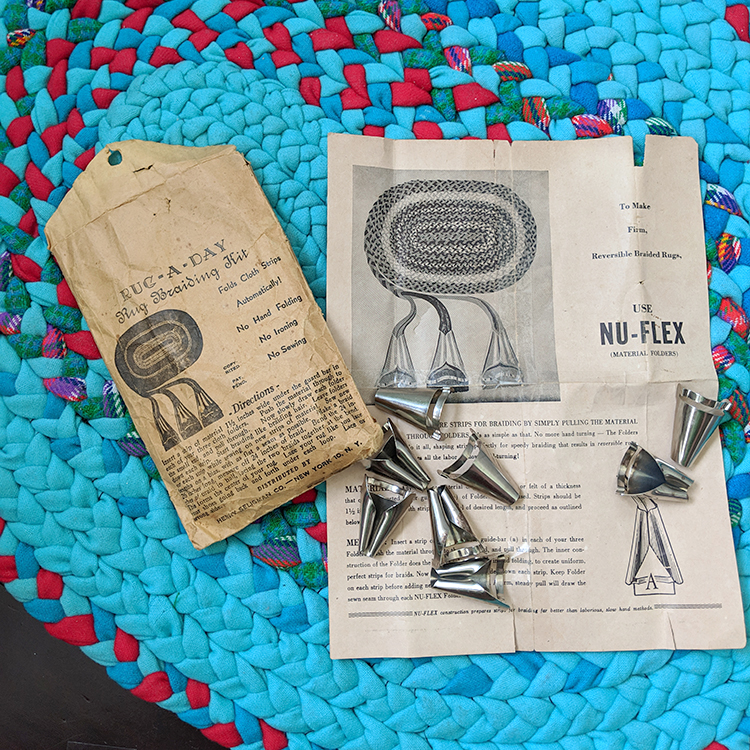
The Nu-Flex “Rug-A-Day” Rug Braiding Kit
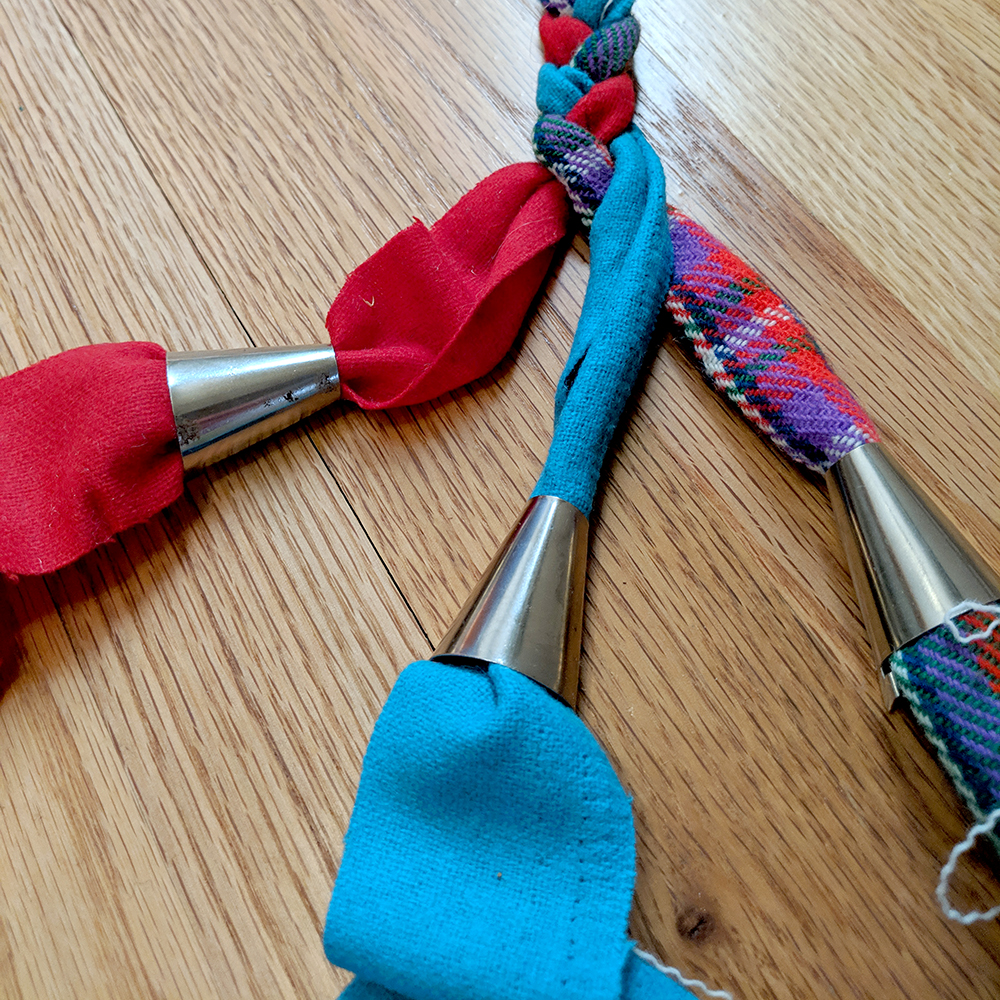
Even with the metal folders, the strips aren’t folding properly.
My finished practice rug was only about 2 x 3 feet and took about a day. I was reasonably happy with my first attempt and only issue was keeping the rug flat as I laced the coil together. I’m hoping that over time the wrinkles in the rug will flatten out a bit more.

My braided rug in progress
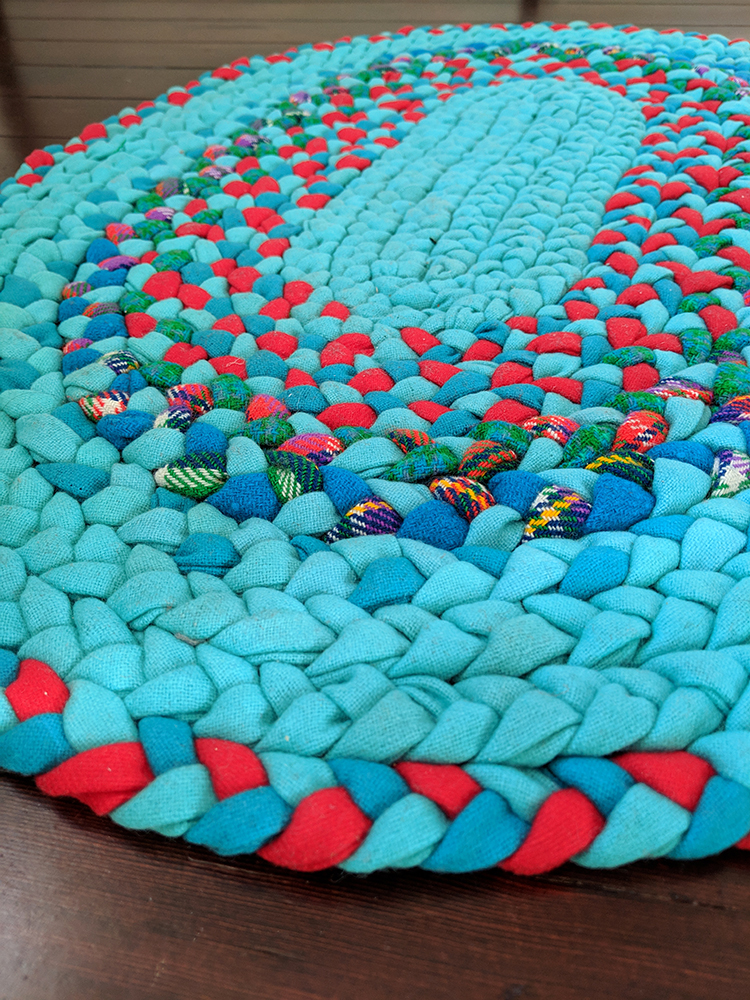
My first braided rug completed.
Once the little rug was complete, it was time to try for the larger one. I had such trouble keeping the first rug flat that I feared that a larger rug would be even worse. This rug would be placed in front of a door and I was worried that it would be a tripping hazard so decided to make a rectangular rug instead. Rather than coiling the braids, I would sew strips of braid together to form the rug.
I started by cutting the strips and then sewing them together into the right lengths for the braids. I then made rolls of the strips for each braid I was going to make to help me plan out the rug and keep track of the number of braids I would have.


When I was making the first rug, I found I was spending a lot of time trying to fold the strips while trying to braid. The braids were also not as flat as I would have liked. To help with this I ironed each strip so that the raw edges were folded into the center. This helped keep things tidier and made the braiding much easier.

Ironing the wool strips

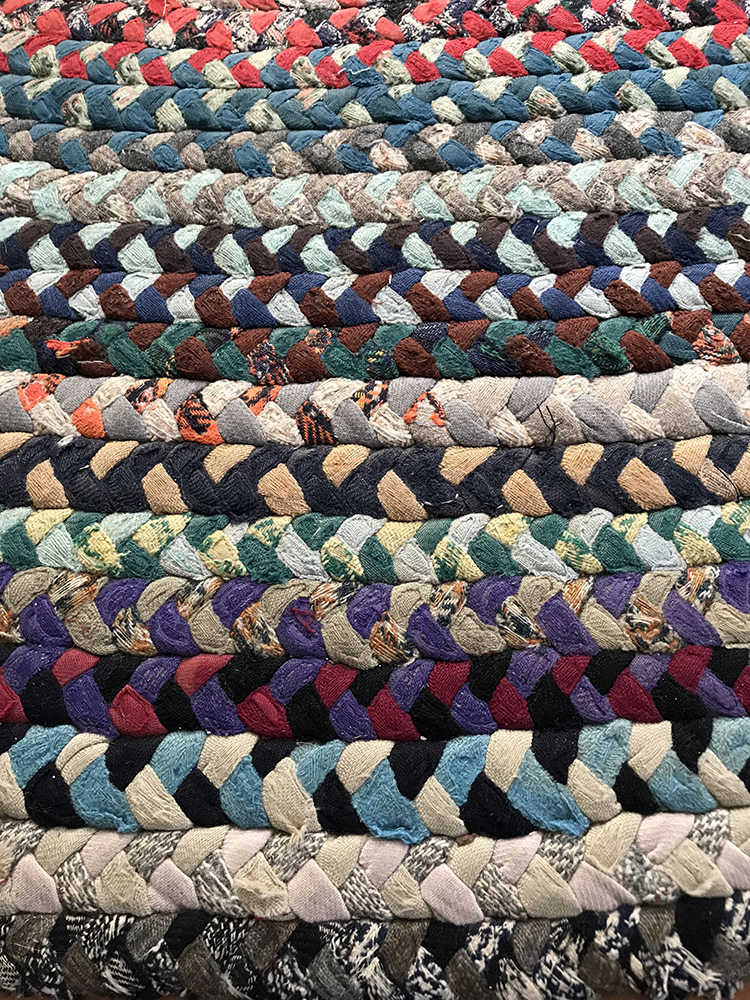
A pile of the finished braids
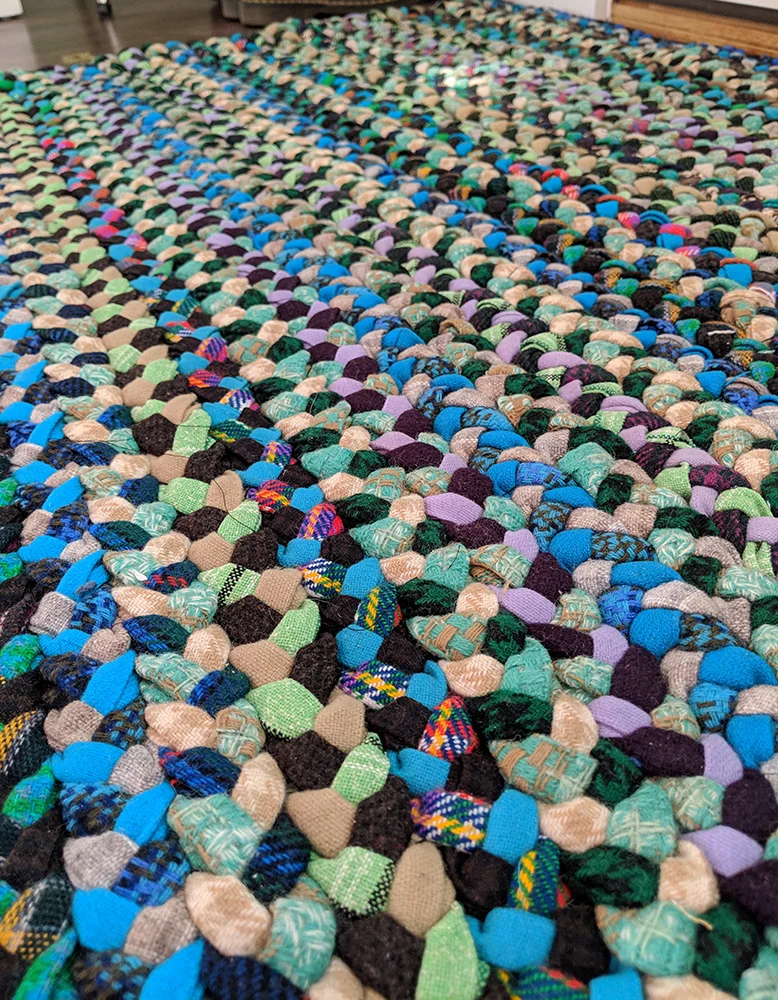
It took me a couple of days to braid all the strips together. As I finished a braid, I would lay it in place on the floor so I could plan out the rug. Initially I had quite a bit of bright red in the rug but when I started to lay out the braids, I realized that the red was much too bright and I didn’t care for how the overall rug looked, so I redid the red braids with more subtle shades of blue, green and purple.
The original rug layout with red. Although it doesn’t come across in this photo, the red was almost neon and very distracting.
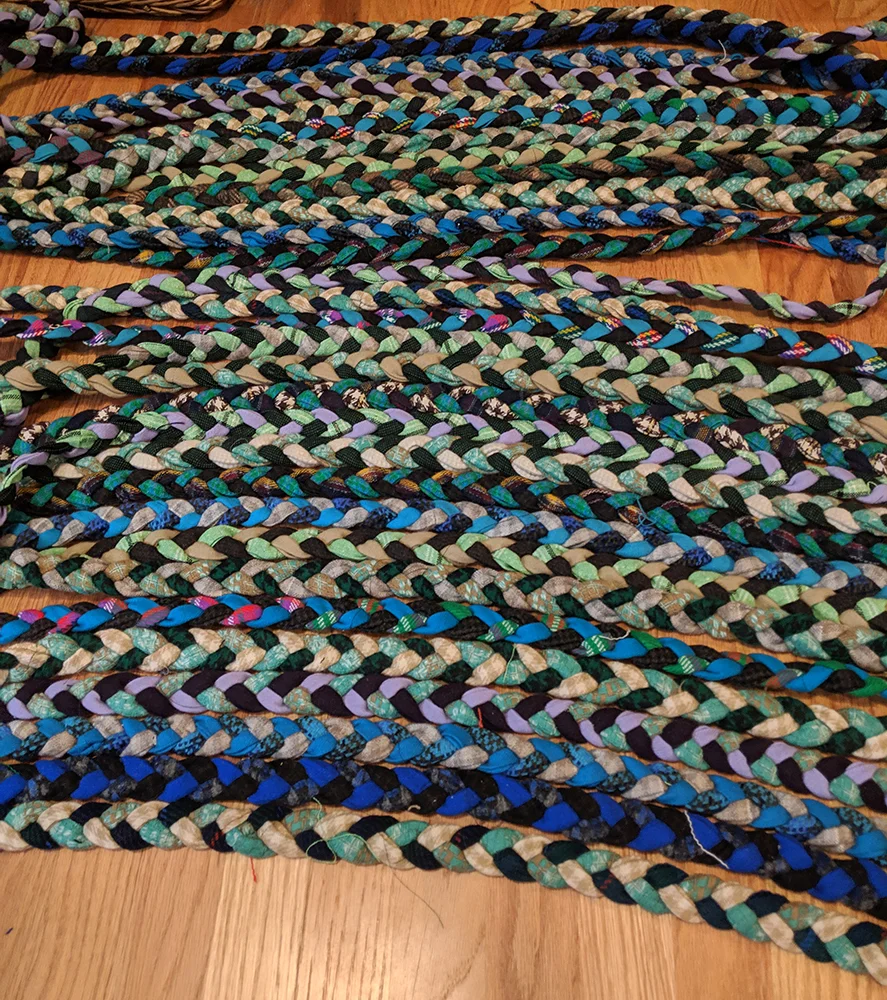
The new layout with more subtle colors.
Once I had the braids laid out it was time to attach them. Most of the online instructions I had found had me lacing the braids together with carpet thread. The problem that I found was that no matter how tight I pulled the lacing thread, the rug would start to separate and loosen up. So, I went back over the rug and hand-stitched all the braids together. The stitches can be seen on the bottom, which means the rug isn’t reversible, but it’s much more solid than when it was simply laced together.

The lacing was much too loose and the braids started to separate.

The bottom of the rug stitched for a sturdier rug.
To finish off the rug, I folded the ends of the braids to the underside of the rug and stitched them in place. There may be a much better way of doing this, but I could find no instructions online, so this was my solution. It may not look pretty but since it is going to be on the bottom of the rug, I decided it didn’t matter that much. If I were to do this again, I would leave the ends longer so that I could taper them more before sewing them down as this would help the edges of the rug lay a bit flatter.
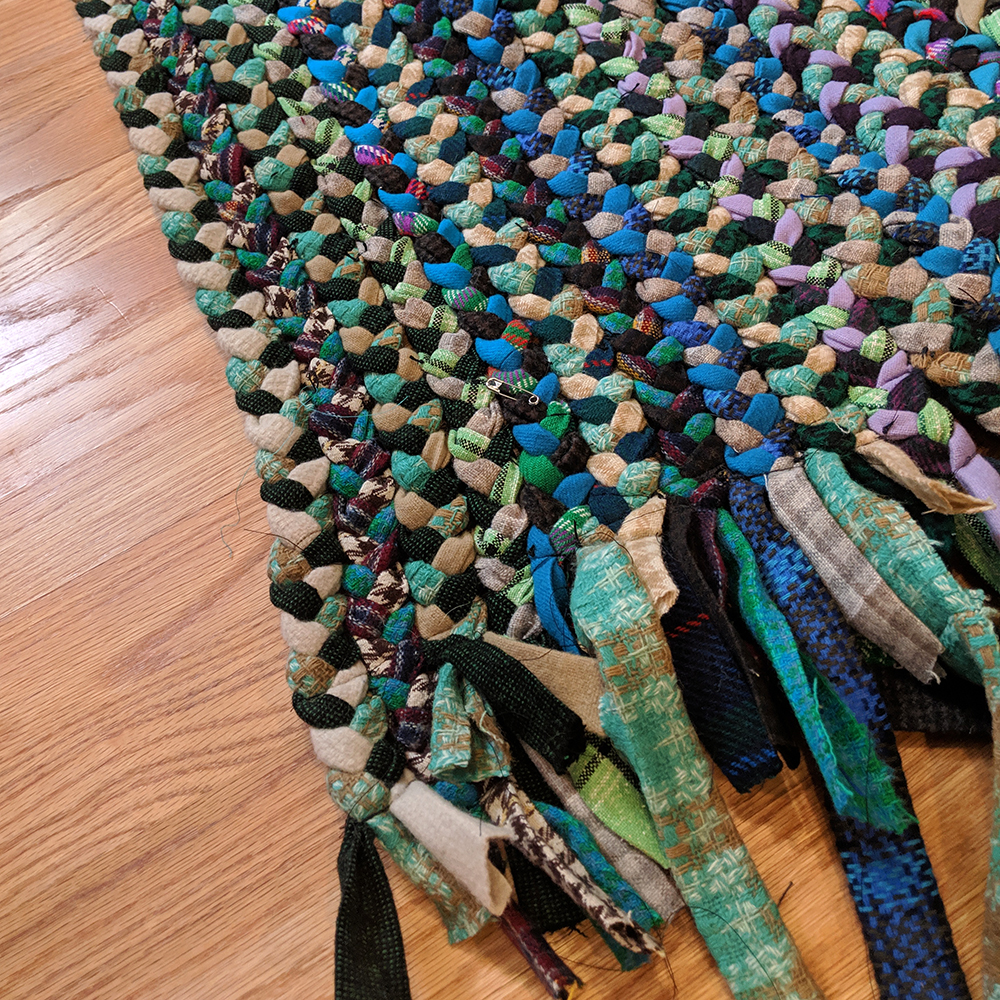
The unfinished ends of the rug

The ends of the rug folded down and stitched in place
I’m pretty happy with the way the rug came out. The edges aren’t as straight as i would have liked, but considering it’s only my second one and completely hand-made, I don’t think it’s too bad. I’m very happy with the colors I ultimately used and think it looks really good in the room.

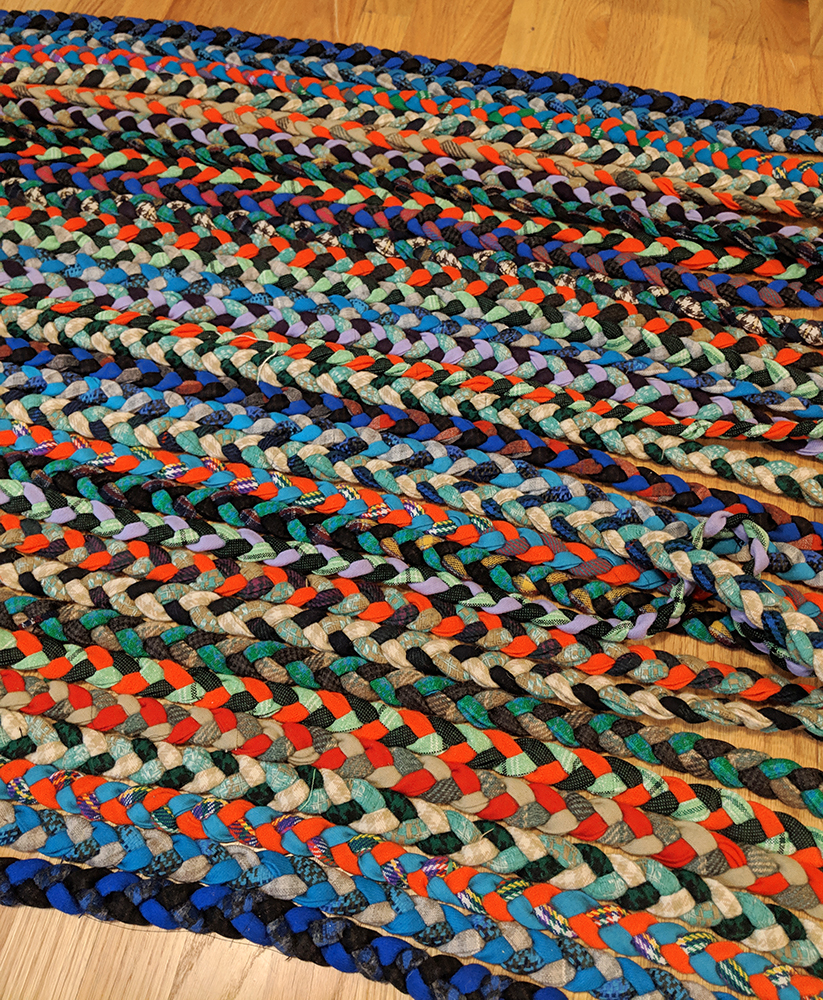
The final rug in front of the door

The room with both braided rugs.
Would I do this again? Probably not anytime soon. This 3 x 4 foot rug took almost a week and a ridiculous amount of hand sewing. While I didn’t hate doing it, it was a bit tedious. Frankly, I don’t know how my grandmother ever made so many of them.
Do I recommend making one? Sure! They are a great way to recycle old clothing and scrap fabric for a inexpensive and fun rug. Just don’t expect it to be a quick process. Who knows, maybe down the line, I’ll forget about my aching back and sore fingers and try this project again.