Building a Mid-century Styled Entertainment Center
For a few years our entertainment center has been a vintage dresser which I converted to hold our TV, stereo and other electronics. It has served us well, but was something we knew we would replace if we ever found the right thing. We thought we found a suitable replacement when we came across a beautiful 1960s Grundig Majestic stereo console at a local antique store. We figured we could put the TV on top, some of the electronics inside and the rest on external shelving. We then planned to take the old entertainment center and turn it back into a dresser for Chris. The problem was that as soon as we got it onto the house we realized it was too pretty to go in our living room and really looked much better in the library. Chris really liked the idea of his new dresser and wasn't in a hurry to give that up. This left us with a new record player, a dresser and no entertainment center.

Our “new” Grundig Majestic
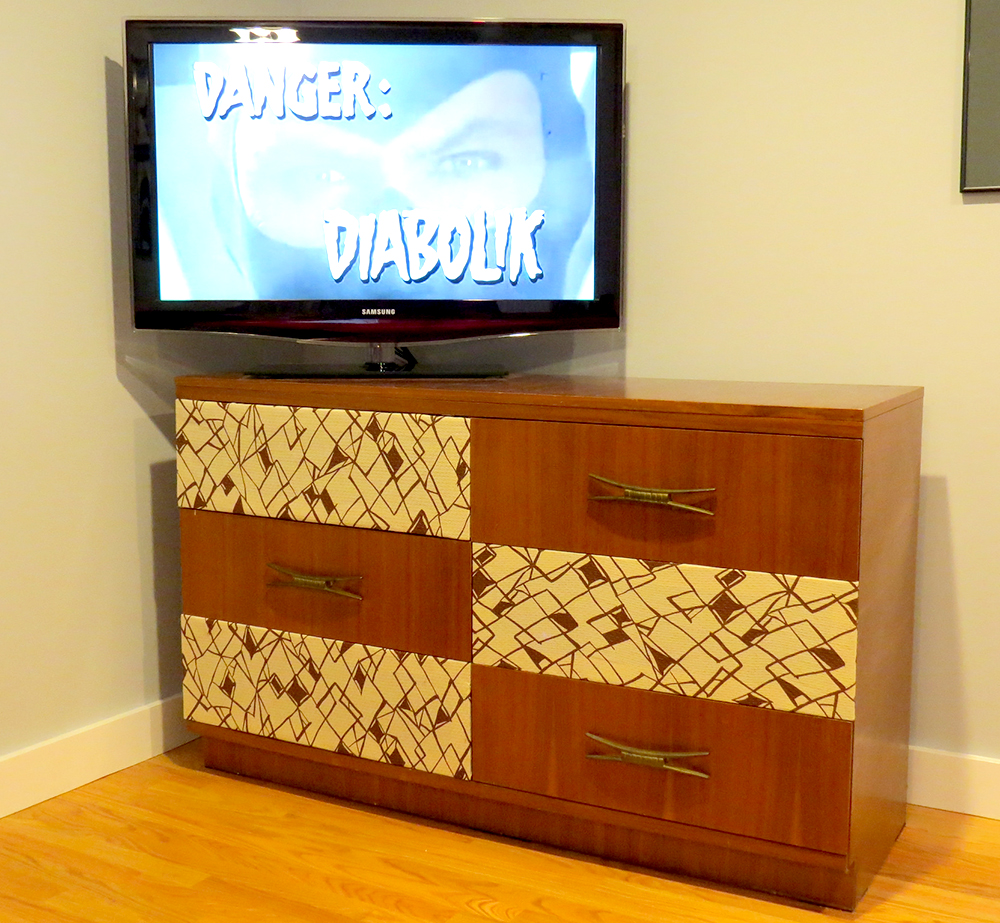
The original entertainment center made from a vintage dresser.
Since I already built a mid-century style bookshelf, I decided that I could easily make a new entertainment center using similar plans, with some additional features. This new shelf would have sections to hold all of our electronics and additional sections for display purposes. To hold everything, this shelf needed to be larger, so we designed it to be 4ft long and 20 inches deep.

My plans for the entertainment center

The shelf building in progress
Chris helped me cut all the individual pieces. I routed the boards as needed and then glued, clamped and nailed the pieces together. Some of the boards were warped so the use of clamps was crucial in keeping the joints from pulling apart while the glue dried. I didn’t have enough clamps to do everything at once so I pieced it together in sections and once the glue was dried, moved on to the next tier.
I sanded the shelf and stained it with "Moorish Teak" by Zar, to match the previous shelf. When building the last one, I filled the nail holes with colored putty after everything was stained. Although it was pretty close I did find that the color didn’t match exactly. This time, I discovered that Zar makes a stainable wood filler, which I used to fill the nail holes before I started staining. This filler took the stain very well and made the holes a lot less noticeable than before.
For the legs, I cut down some vintage legs to the size I wanted. The original hardware was missing, so I purchased a kit that included new hanger bolts and angled mounting plates. To install the new hardware, I drilled down through the center of each leg. I wrapped the drill bit with some tape to make sure I went down the same distance for each leg. I then inserted the threaded collar and finally added the hanger bolt. Once all that was done I sanded off the original finish, re-stained, varnished and attached the legs to the bottom of the shelf.

Hammer
Router
3/4 inch straight router bit
Power Drill
Skill Saw
Staple Gun
Paintbrush (For Varnish)
Cloth Rags (For Stain)
Various Clamps (regular and corner)

3 - 3/4" x 20" x 72" boards
6 - 1/2" x 1.5" x 24" boards
Finish nails
Wood glue
4 - Tapered furniture legs
4 - Angled furniture leg mounting plates and hardware
Wood stain
Semi-gloss varnish
2 Yards Fabric
4 - Magnetic cabinet latches
4 - Small cabinet knobs

The resized legs

The angled brackets and hardware for the legs

The drill bit with tape guide

The leg with the collar
We don’t love the look of exposed electronics, so like the previous entertainment center, I made removable panels to cover those sections up. To do this I started by making wood frames that would fit just inside of those designated sections.

The plans for the panel frames.

An assembled panel frame with my trusty corner clamps.
The next step was covering the frames with fabric using staples. We chose fabric, rather than solid panels as the fabric allows remote controls to work without having to pull off the panels. I used some funky 1950s vintage fabric that I purchased a few years ago. To attach the panels to the shelf, I used magnetic cabinet latches in the upper corners. The magnetic pieces were attached to the frames and the metal plates to the shelf itself. These hold the panels in place quite nicely, while allowing them to be easily removed when needed.

The back of a panel

One of the magnetic cabinet latches
Since the panels are flush with the front of the shelf they can be difficult to remove so I wanted to add knobs or pulls to give us something to grab on to. I knew I wanted very small knobs, preferably in brass, but none of the local hardware stores had anything close. Instead, we went to the craft store and bought some charms to attach to the front of the panels. They weren't exactly what we wanted, but we figured that they would work for what we needed. As I was looking in our basement for something to attach the charms, I came across an entire jar full of very small brass knobs. The previous owner of our house was a furniture maker and these were ones he had used, they were exactly what I was looking for and worked perfectly.

One of the brass knobs on the panel

The shelf with the top panel removed
We are really happy with the way this came out. There is plenty of room behind the panels for electronics and extra things we want to store. The outer shelves are perfect for displaying my collection of vintage paperbacks and the inner cubbies hold a mid-century ice bucket and bowls. We decided to hang the TV on the wall rather than placing it on the shelf itself, which made room for more books and vintage ashtray and dishes. Even though the new entertainment center is deeper than the previous one, it fits in the room a bit better. The shelving helps create openness and it’s not as overwhelming as the dresser was.
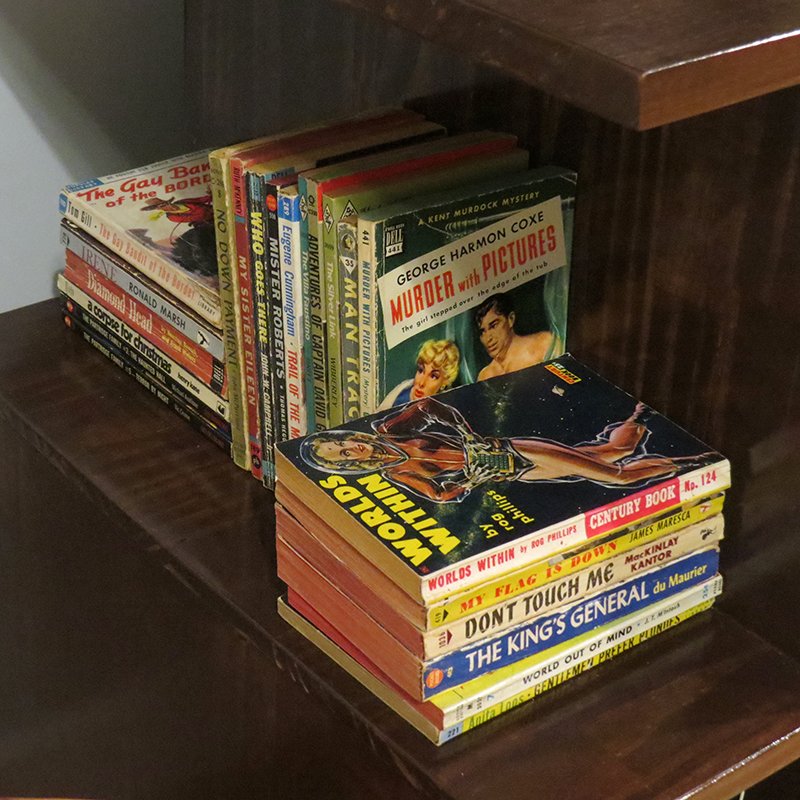
One of the outer shelves with some of the vintage paperbacks

The finished entertainment center
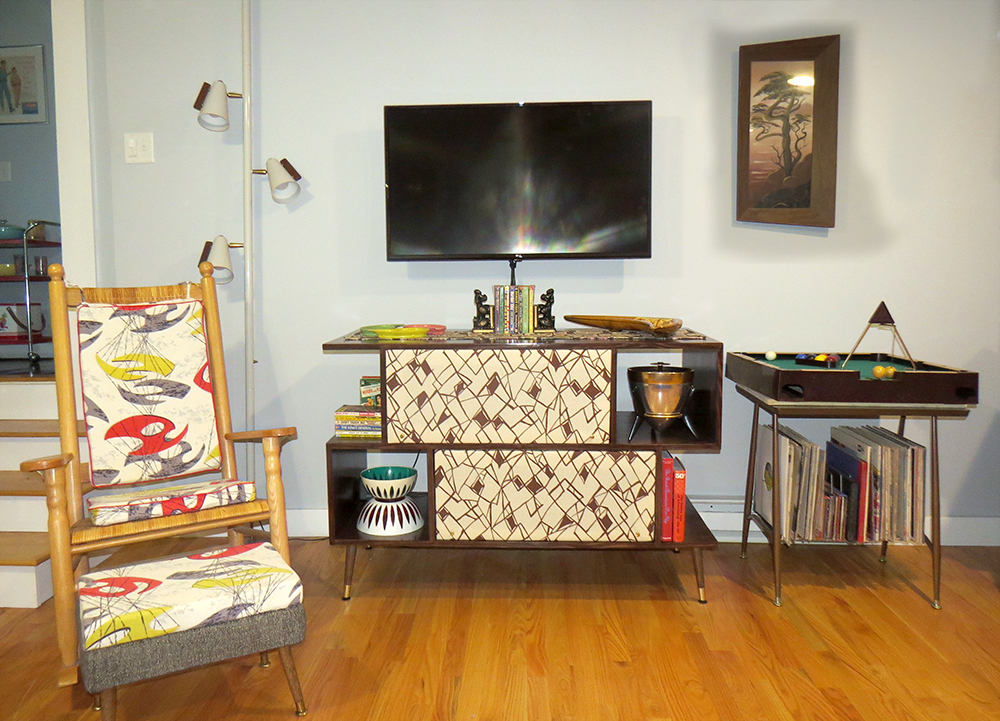
The new entertainment center in place in our living room. To the right is the 1960s game of Skittle Pool, found at the Hollis Flea Market this summer.